
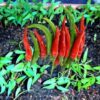

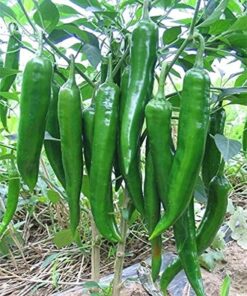
Chilli Sambhar seeds pack of 15-20 seeds
₹40.00
Out of stock
Email when stock available
Growing Chili Sambar from Seeds: A Step-by-Step Guide
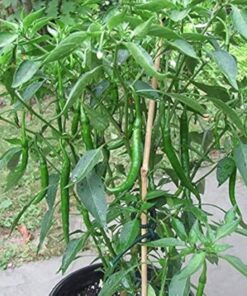
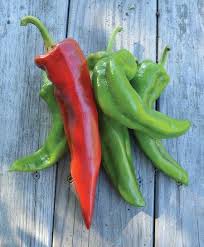
Chilli Sambhar is a fiery and universal spice that can render any food product delicious. Chili sambar is easy to grow from seeds, and it is a highly fulfilling activity if done properly. Proper care can help you cultivate healthy chili plants and enjoy a rich harvest throughout the year.
| Number of Seeds | 15-20 Seeds |
|---|---|
| Sowing month | Feb to Oct |
| Blooming Month | April To Dec |
| Temperature | Above 30C |
| Sun | Full sun except may june |
Step 1: Choosing the Ideal Seeds
First, select good-quality chili sambar seeds from a good supplier. Organic and fresh seeds provide better germination. Inspect the seeds before planting and discard deformed and shriveled seeds.
Step 2: Preparing the Soil Chilli Sambhar
Next plant in rich, well-draining soil. Cocopeat blended with a mix of garden soil and added compost is best for germination. A faintly acidic to neutral pH ranging from 6.0 to 7.0 must be provided for growth. Crumple the ground to provide enhanced aeration before planting the seeds.
Step 3: Planting the Seeds
Chilli Sambhar Once the soil is ready, plant the seeds around 1/4 inch deep. Provide them with at least 1 inch of space so that enough space to grow. Water them extremely gently and cover them lightly in a manner.
Set the seed tray or pot a 70–85°F (21–29°C) room temperature. If subject to cold, place a heat mat under the seed tray or pot for warmth. Germinate in 7–14 days.
Step 5: Watering and Fertilizing Chilli Sambhar
From the time seedlings sprout, water them daily but never in excess since the water would result in root rot. Every two weeks, liquid fertilizer with balanced proportions is added to promote the best growth. Organic soil conditioning with compost is also employed. Spring onion can be grown In the same weather condition
Step 6: Transplanting the Seedlings
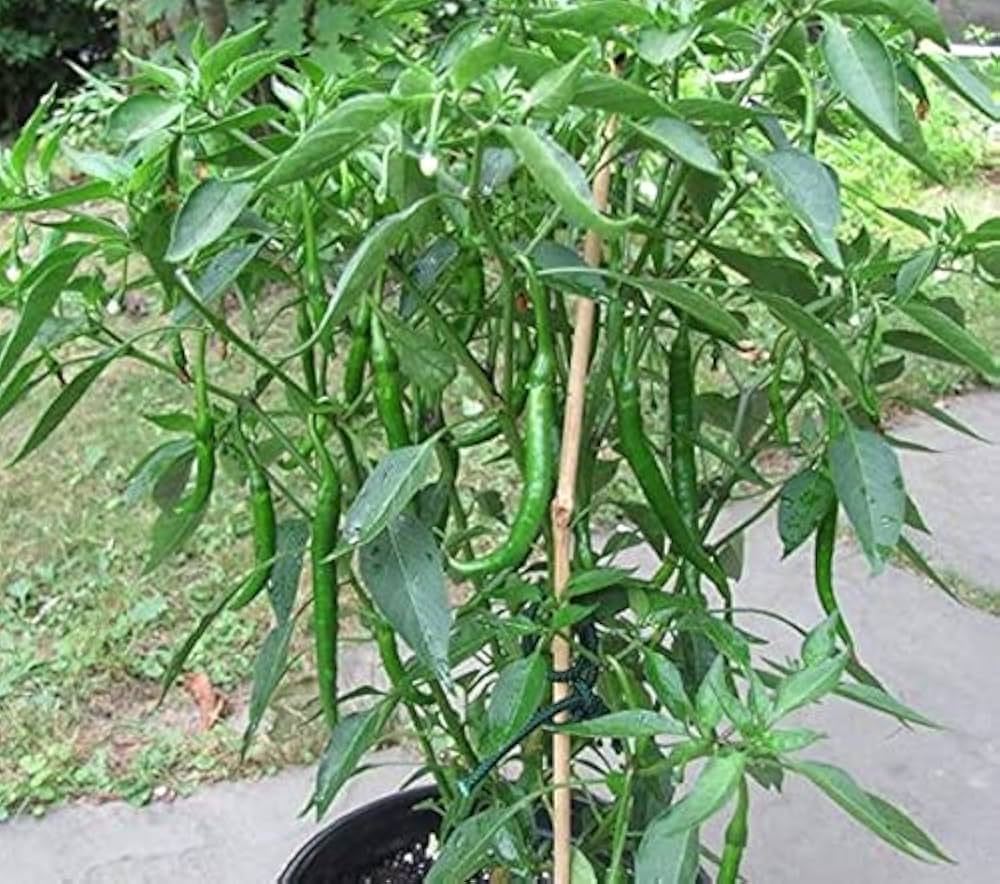
Chilli Sambhar When the plants have 4–6 leaves, plant them in garden beds or large pots. Keep them at least 12 inches apart to allow for air passage. Position the chili plant where it will receive most of the light as light is essential.
Step 7: Pest and Disease Management
Check for whiteflies and aphids and control infestations as needed with neem oil or insecticidal soap. Also, don’t waterlog them to prevent root rot due to fungal disease.
Step 8: Harvesting the Chilli Sambhar
Your plants should start producing fruit within 60–90 days. Harvest the chilies when they reach bright red or green, or any other desired color. Successive harvesting induces more production.
Lastly This way, it is possible for you to easily grow chili sambar seeds and use your own home-grown chilies to add spiciness to your foods. Enjoy gardening!
| Weight | 00 g |
|---|---|
| Color | Green |
| Germination Level | Easy |
| Growth Pattern | Up right Straight |
| Hybrid or Open Pollinated | Open Pollinated |
| Ideal location | Full sun |
| Origin Country | India |
Be the first to review “Chilli Sambhar seeds pack of 15-20 seeds”
You must be logged in to post a review.
Related products
Vegetable seeds
₹60.00
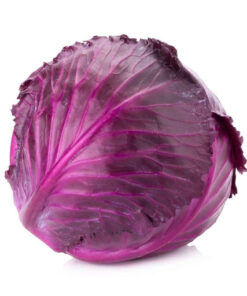
Grow fresh, colorful, and nutrient-rich Red Cabbage at home with premium quality seeds. Ideal for kitchen gardens, raised beds, and containers. Produces firm purple heads rich in vitamins, antioxidants, and fiber.


Out of stock
Reviews
There are no reviews yet.