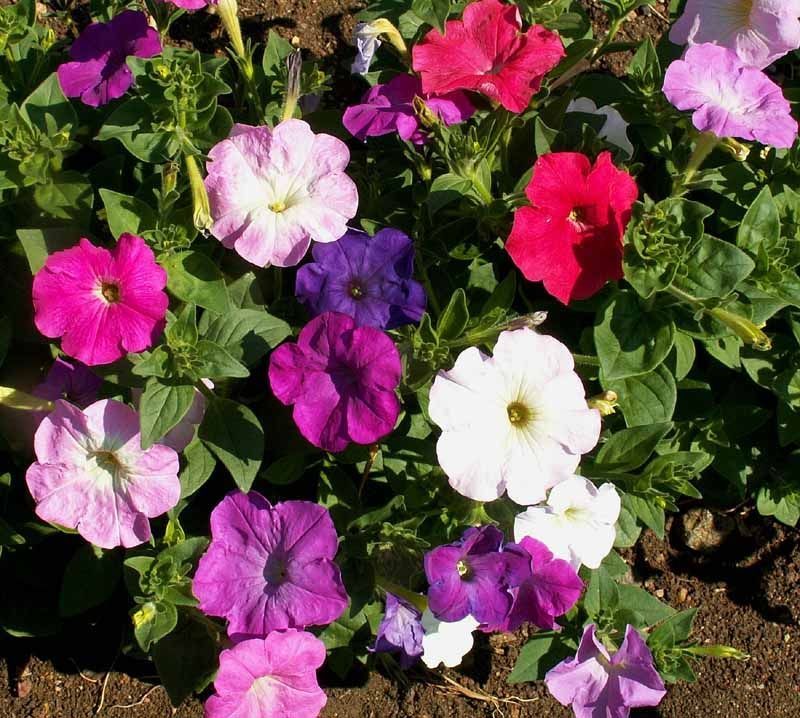
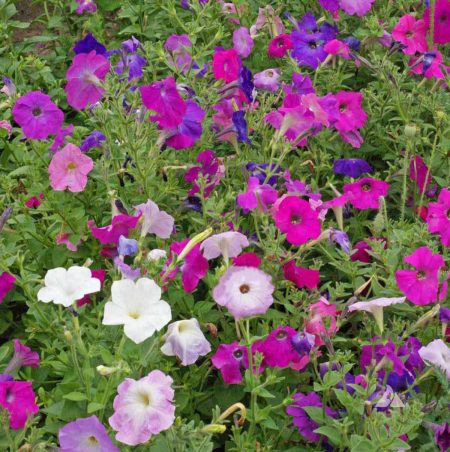
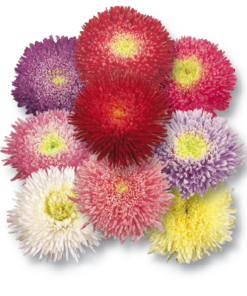
Petunia Nana Compacta Mix Pack of 100 seeds Open Pollinated
₹50.00
In stock
SKU: PetuniaNanaCompacta
Category: Winter Flower Seeds
Growing Petunias from Seeds
Petunia Nana are beautiful flowers that come in a wide range of colors and bloom throughout the entire summer season. They are easy to grow from seeds if you follow the right steps. Here’s a step-by-step guide to growing petunias from seeds.
| Number of Seeds | 100 seeds |
|---|---|
| Sowing month | Sept to Jan |
| Blooming Month | Dec to April |
| Sun | Full Sun |
| Sowing Temperature | Day time below 30C |
Petunia Nana Choosing the Seeds
Petunias are available in types such as grandiflora (large flower), multiflora (small but numerous flowers), and wave petunias (spreading). Select one based on your garden. Purchase quality seeds from a gardening store to achieve the best results.
Petunia Nana Seeds When to Plant
Petunias have a slow start, so seeds will have to be planted indoors 10 to 12 weeks before your last frost date. This gives the plants a head start earlier before they are transplanted outdoors.
Petunia Nana Seeds Plowing the Seeds
- Prepare the Seed Tray – A shallow seed tray or small pots with a light, loose potting medium work best. The best variety to use is a seed-starting mix.
- Sow the Seeds – The seeds of the Petunia are too small. Plant them on the soil’s surface but not buried since they require light in order to germinate.
- Water Gently – Sprayed the ground with a spray bottle so that the seeds will not be dislodged.
- Cover the Tray – Cover the tray with plastic wrap or clear cover in order to seal in the moisture.
- Petunia Nana Seeds Give Warmth and Light – Place the tray in a warm spot (70-75°F or 21-24°C) and give it bright, indirect light or a grow light.
Taking Care of the Seedlings
- The seeds will germinate within 7-14 days. After they have, take off the cover.
- Water lightly when necessary. Keep the soil moist but not soggy.
- Petunia Nana Seeds Move the seedlings to a light location, ideally in front of a sunny window.
- When they have two sets of leaves, transplant them into larger pots.
- Putting Petunias Outside
- Wait for warm weather (after the last frost) and put petunias outside.
Select a location with full sun and good drainage.
- Plant them 12 inches apart.
- Water heavily and mulch to conserve moisture.
- Petunia Stars Seeds Taking Care of Established Petunias
- Watering – Let soil dry between watering intervals.
- Fertilizing – Apply a balanced fertilizer fortnightly for additional flowers.
- Deadheading – Deadhead the wilted flowers to promote additional flowers.
| Germination Level | Easy |
|---|---|
| Hybrid or Open Pollinated | Op |
| Ideal location | Full sun |
| Origin Country | India |
| Growth Pattern | Up right Straight |
| Color | Mix |
Be the first to review “Petunia Nana Compacta Mix Pack of 100 seeds Open Pollinated” Cancel reply
You must be logged in to post a review.
FAQs
Which fertizlier to be used
In most flowering plants NPK can be used 19:19:19 if you want to use organic, then vermicompost or any organic decomposed manure is best for soil fertility
When to Transplant
Once seedling has 4 true leaf then cab be transplanted after Sunset without disturbing the roots
How to germinate from seeds
Fill pot 80% with soil and compost mix the top layer 20% spread cocopeat, then place seeds on top of cocopeat, then cover seeds with thin layer of cocopeat, Maintain moisture till germination
Related products
Winter Flower Seeds
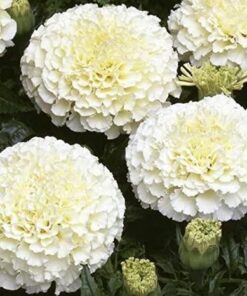
Marigold White Vanilla F2 Flower pack of 25-30 seeds Open Pollinated
Rated 4.50 out of 5
₹60.00
Winter Flower Seeds
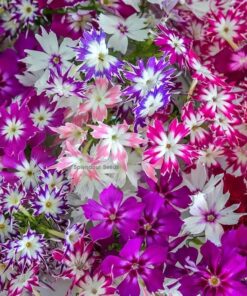
Phlox Twinkle Star Seeds flower Hybrid seeds pack of 40-50 seeds Open Pollinated
₹50.00




Reviews
There are no reviews yet.