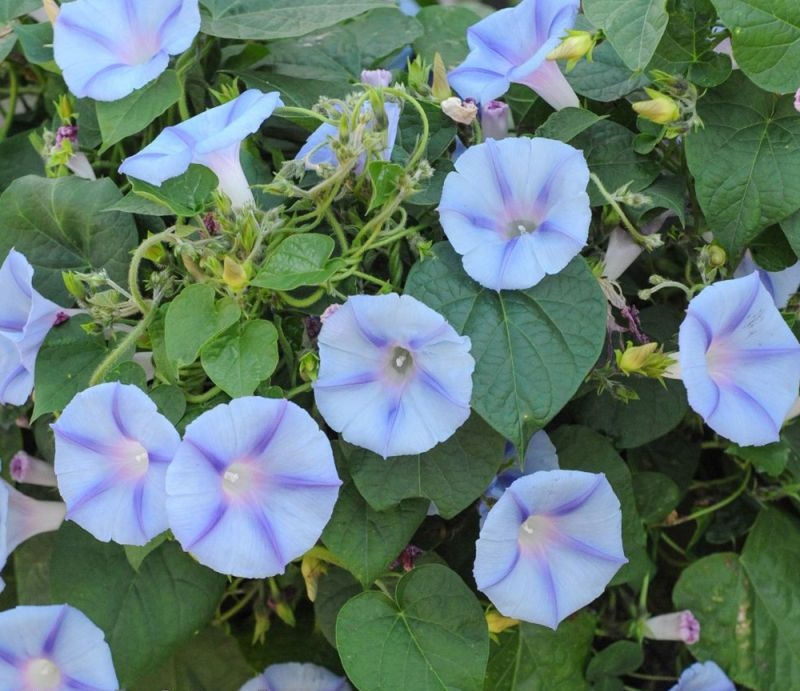
Morning Glory Blue Star flower seeds 10 seed pack
₹99.00
Out of stock
Email when stock available
SKU: bluestarmorning
Category: Summer Flower seeds
Morning Glory Blue Star Here’s the step-by-step process:
When to Plant: Because morning glories are warm-season annuals that enjoy temperatures above 70 degrees Fahrenheit (21 degrees Celsius), wait until all danger of frost has passed in your area to seed them, often in early spring.
| Number of seeds | 8-10 seeds |
|---|---|
| Sowing Month | Feb To Oct |
| Blooming months | April to Jan |
| Temperature | Day time above 30C |
| Sun | Full Sun |
Soils: Morning glories prefer well-draining soil with a pH of 6.0 to 6.8. Loosen the soil and remove debris in the planting area. You can amend the soil with organic matter, such as compost, to improve its texture and fertility.
Sowing Seeds: The morning glory seeds have a hard outer coat that can delay germination. To increase germination rates, you can scarify the seeds by nicking them with a nail file or soaking them in warm water overnight before planting.Adenium Arabicum seedling can be a good companion
Morning Glory Blue Star Planting Depth: Sow the seeds at about ½ inch or 1.3 cm deep into the soil. Spread the seeds 6 to 12 inches or 15 to 30 cm apart, as morning glories spread rapidly once established.
Morning Glory Blue Star Watering:
Water the soil all the time to remain moist but not waterlogged, immediately after sowing. Water the seed gently so that it won’t be disturbed.
Morning Glory Blue Star Sun: Morning glories will do well if they are given a spot that receives at least 6 to 8 hours of direct sunlight.
Morning Glory Blue Star Support: These flowers are climbers and will soon require support as they grow. Install a trellis, fence, or other support structure near the planting area to give them something to climb on.
Maintenance: Since the plants are growing, make sure the area surrounding the plants is weed-free because this reduces competition for nutrients and water. Also, the vines are pushed up the support structure to grow.
Pest and Disease Control: Inspect for the presence of pests or diseases such as aphids or powdery mildew on the plants. Control measures are used if necessary, such as insecticidal soap for pests or fungicides for fungal diseases.
Morning Glory Blue Star Flowering: When properly cared for, the morning glories will start blooming in mid to late summer. Enjoy the flowers that are very vibrant and last only one day before wilting.
Be the first to review “Morning Glory Blue Star flower seeds 10 seed pack” Cancel reply
You must be logged in to post a review.
Related products
Summer Flower seeds
Gomphrena Buddy Rose Globe Amaranth pack of 25-30 seeds Imported
Rated 5 out of 5
₹60.00
Summer Flower seeds
Celosia plumosa dwarf mix color pack of 45-50 seeds Open Pollinated
Rated 5 out of 5
₹50.00
Summer Flower seeds
Rated 5 out of 5
₹80.00


Reviews
There are no reviews yet.